I thought about waiting to do this since today is Thanksgiving for us in the USA, but then I wanted to get this series started so I decided to go ahead and post it. Hope everyone has a wonderful day, and if you celebrate Thanksgiving, enjoy and be blessed!
This isn't really a "tutorial" as much as it is just telling about the product and showing some ideas.
So let's get started!! The sparkly product today that is in the spotlight is
Sparkly Fluff. I found this review on the product:
Craft Critique review.
My own little review is that I love this stuff!! At first I was a bit skeptical as I had lots of fun flock. I mean, that's what I thought this was like. Which in a way it is similar, as it's fuzzy but for us sparkle lovers the extra WOW is in the added little bits of sparkle in
Sparkly Fluff.
I only have 3 colors right now but in doing this Sparkly Thursday, I have ideas for lots more of the wonderful colors that are available!! How fun would the
gold and
platinum be on a Christmas tree die cut or stamp as the garland?? or
Appletini green as some sparkly grass for a fairy?? the ideas are endless and so many colors to choose from!!!
I'm sure everyone does things differently but here's how I use this wonderful, sparkly product!
Stamp and color your image. I chose not to color this image so you could see the steps better.

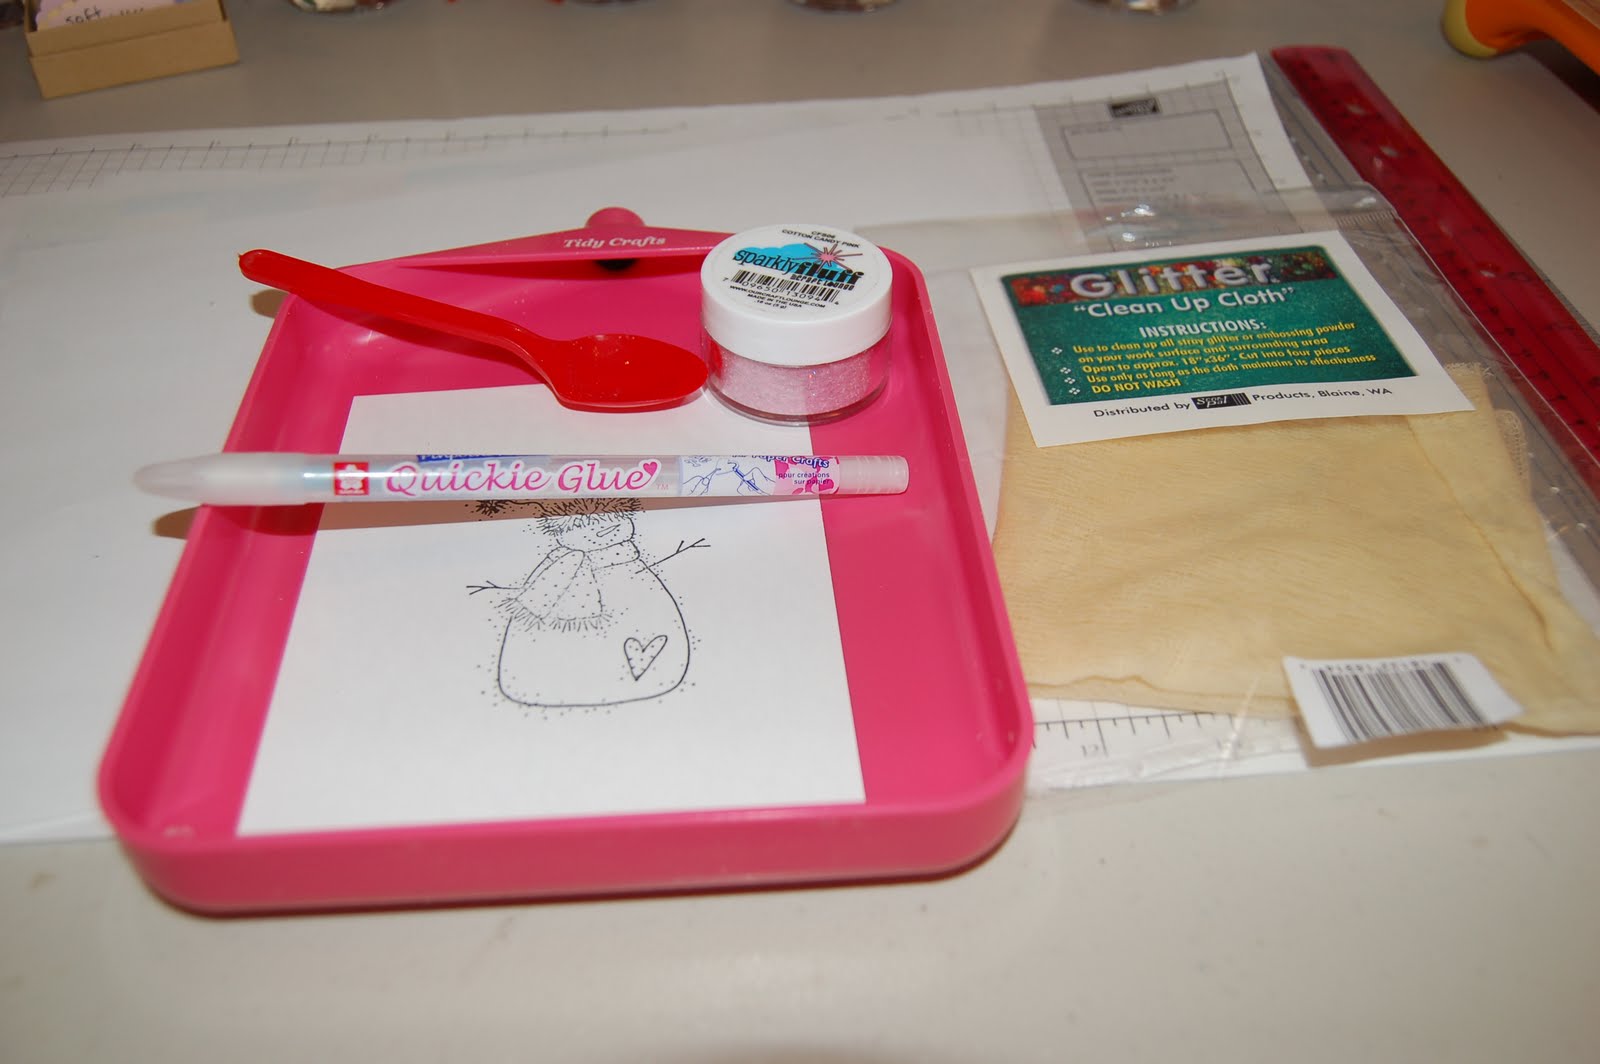
Collect all the supplies you'll need:
quickie glue pen (love this pen as it is so easy to work with), a tidy tray or if that is not available a tupperware container or even an empty clamshell that stamps come in work great. I also use a little plastic spoon (I stole this one from the kids lunchables, but any little spoon would work) to help apply the
sparkly fluff as that way I tend to control it better and not wear quite as much. I also never do a sparkly project without my
glitter clean up cloth!!
Apply your glue to the areas you want to use the sparkly fluff. I wanted to do the hat trim. I usually do a small area at a time. See how the glue is blue when it's wet--it dries clear.
Next take a spoonful of sparkly fluff--I used
cotton candy pink--and pour it onto the glue spot.
Take your spoon and tap it down a bit, then I pour the excess back into the container. Then tap your cardstock a bit to get all the stray pieces off.
There you have it..a sparkly fluffy hat pompom! Continue these steps until you have the effect you like.
When done, use a piece of the glitter clean up cloth and clean up your tray, if using a container, you can empty the container of sparkly fluff in there and leave it if that works for you. I've started doing that with my
flower soft.
And that's it! Easy peasy! Below are just some images that I colored and added sparkly fluff to so you could maybe get some ideas and inspiration!! Thanks for coming by and I hope that you enjoyed my first Sparkly Thursday! Come back next week for Glitter!!
Cotton Candy Sparkly Fluff on the hat and scarf trim.
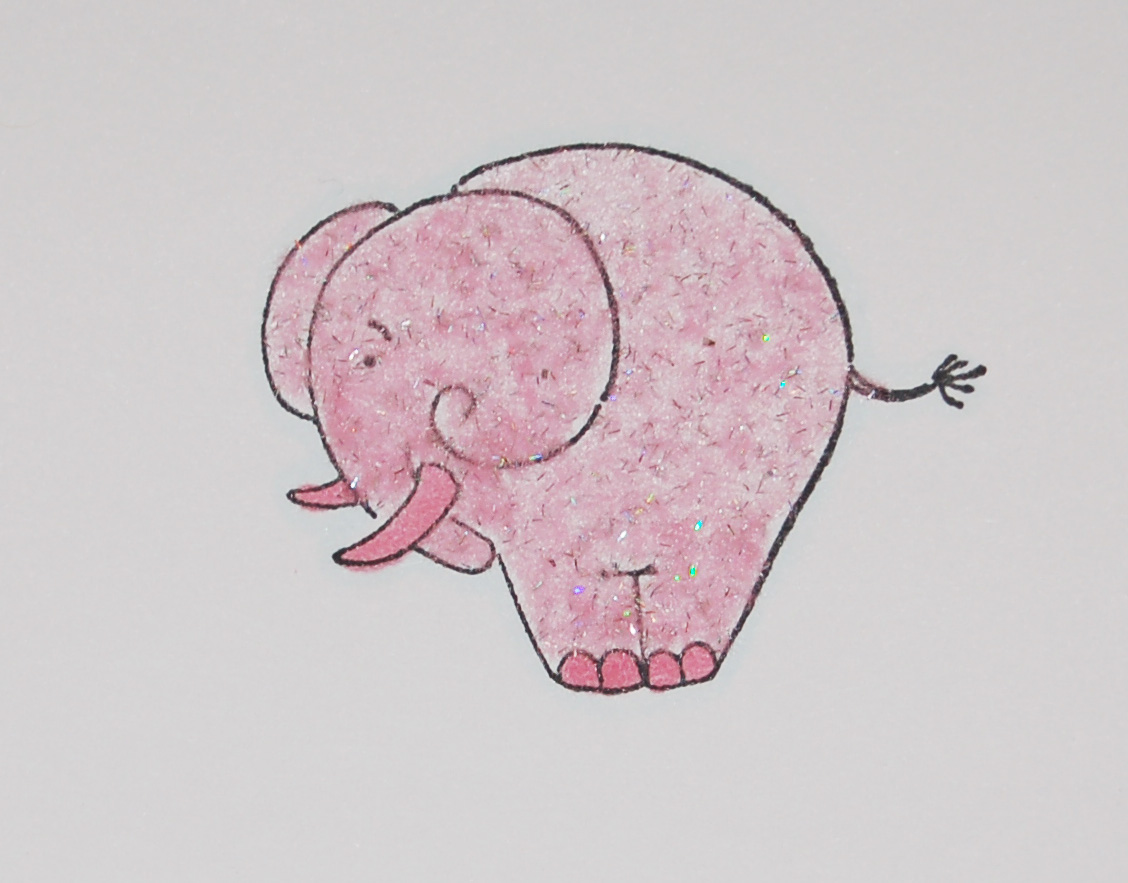
Cotton Candy Sparkly Fluff for a fuzzy, sparkly elephant!
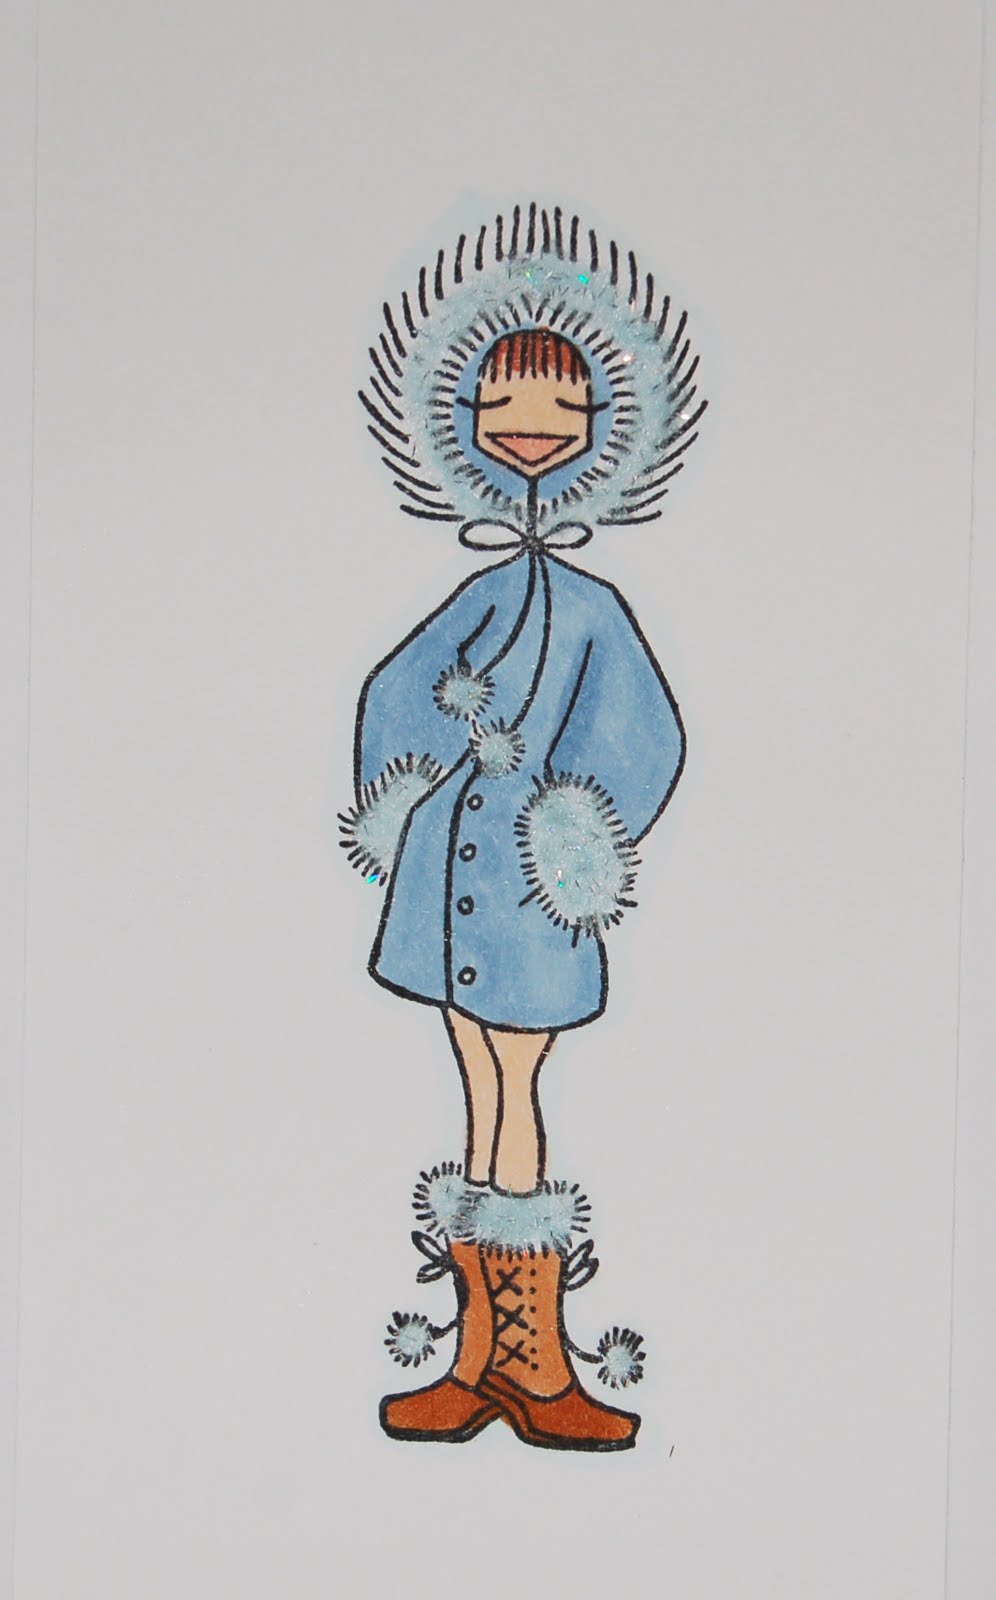
Baby Boy Blue Sparkly Fluff for Snowbunnybella's trim!
Hard to photograph but I used
Sugar Sparkly Fluff for Miss Anya's bubbles!